Twitter Themed Authentication System with Clerk and Next.js
This web application provides a robust authentication system built using Clerk authentication provider and Next.js for the frontend. With seamless integration and a user-friendly interface, users can securely sign up, log in and log out effortlessly.
Features
- Secure Authentication: Utilizes Clerk authentication provider for a secure and reliable authentication process.
- User-Friendly Interface: Designed with Next.js to offer a smooth and intuitive user experience.
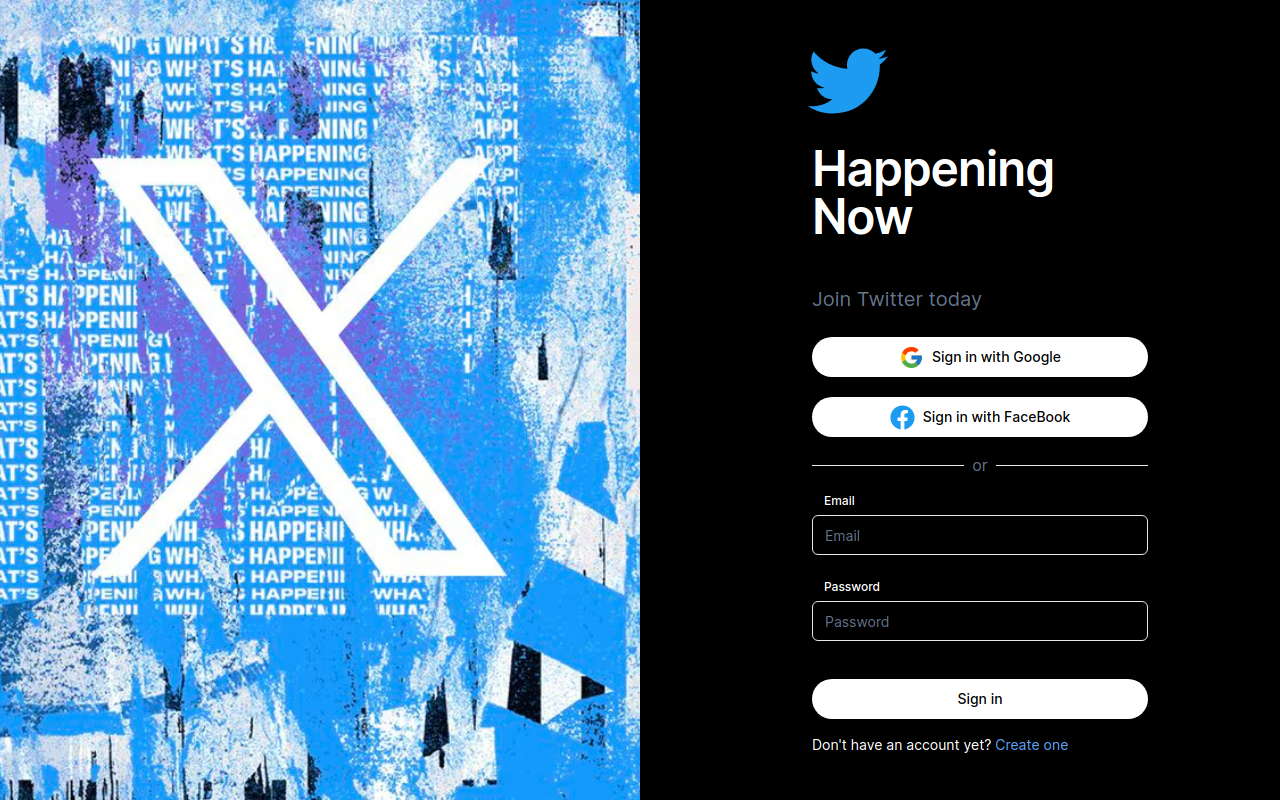
- Twitter Themed Interface: Inspired by twitter authentication interface.
- Customization: Easily customize the authentication flow and UI components to match your application's branding and requirements.
Technologies Used
- Clerk: Authentication provider offering robust features and security.
- Next.js: React framework for building fast and scalable web applications.
- React: JavaScript library for building user interfaces.
- Tailwind CSS: Utility-first CSS framework for styling the application.
Getting Started
To get started with the application, follow these steps:
-
Clone the Repository:
git clone https://github.com/akeakun/twitter-auth.git -
Install Dependencies:
cd twitter-auth npm install or pnpm install -
Set Up Clerk:
- Sign up for an account on Clerk and create your project.
- Follow the instructions provided by Clerk to set up authentication for your project.
-
Configure Environment Variables:
- Create a .env.local file in the root directory.
- Add the secret variables from .env.example file and replace the values with your own
-
Run the Application:
npm run dev or pnpm dev -
Access the Application: Open your web browser and navigate to http://localhost:3000 to access the application.
Customization
You can customize various aspects of the authentication system and UI components to fit your application's requirements. Refer to the documentation of Clerk and Next.js for detailed customization options.
Contributors
- Akeakun(@akeakun)
License
This project is licensed under the MIT License.